Whiskey Delta 4 vs. Da Cuttas Ov Da Jibb
Scenario: We Woz ‘Ere Furst (Da Uvver Book, scenario 2)
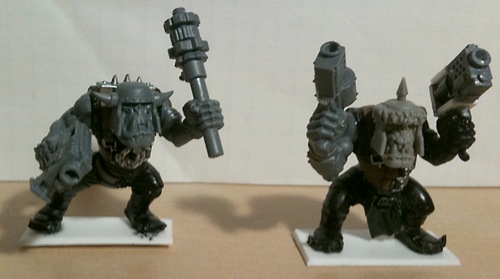
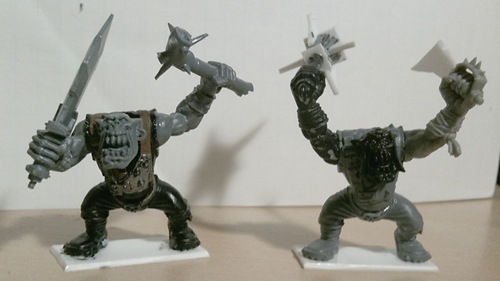
We’ve been working on a new mob for GoMo as part of ‘Ere Be Stuff, as you may have read. The rules aren’t quite finished yet, but they’re together enough to playtest, so here’s a battle report from the first playtest. Sorry about the delay!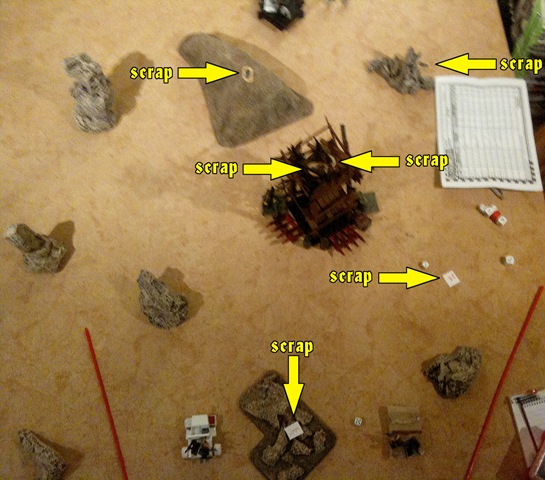
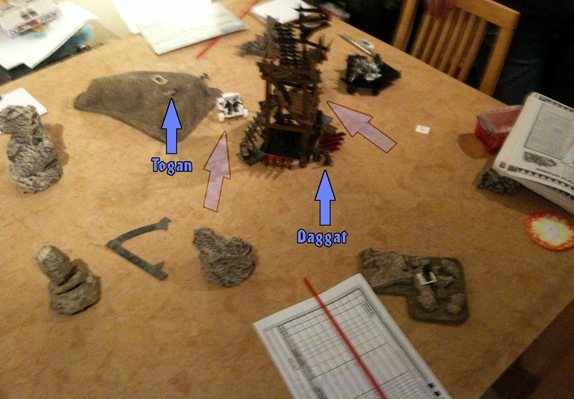
On the bottom edge of the board we’ve got the Dust Rats, a mob known as Whiskey Delta 4. On the top edge we’ve got the Freebooter mob, Da Cuttas Ov Da Jibb. The scenario is We Wuz Ere Furst and there’s a full six scrap counters on the board, marked in this image to give an idea where they are (sorry for the blurriness!). The objective is of course to grab as much as possible and try to make sure the other mob bottles out empty-handed.
A new feature we’re trying out for battle reports is “Da Plan” – players give a quick run-down of their plan for the scenario (in secret) so we can see how badly things go wrong:
Da Plan – Whiskey Delta 4
Okay, here’s the plan..
There’s scrap spread about the board so I’m going to try to move as fast as I can and pick them up and then get the hell out of there, because I don’t think my guys are going to be able to stand up to such a pounding. His lads, well, they’re already half bionik, so I’ve got to be careful.
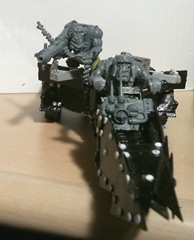
I’ve also split my guys into their two Light Recon Vehicles, or Recce vehicles, so I’ve got one that’s mostly ranged and one that’s mostly hand-to-hand combat. So we’ll see how it goes – hopefully that’ll work best, playing to their strengths rather than trying to get a mixed bag/jack-of-all-trades.
Da Plan – Da Cuttas Ov Da Jibb
Get very careful note of this – in true orky fashion, I have no plan!
I’m going to shoot them, I’m going to fight them, I’m going to bite them..
..and then I’m going to try to get the scrap!
So, let’s get started!
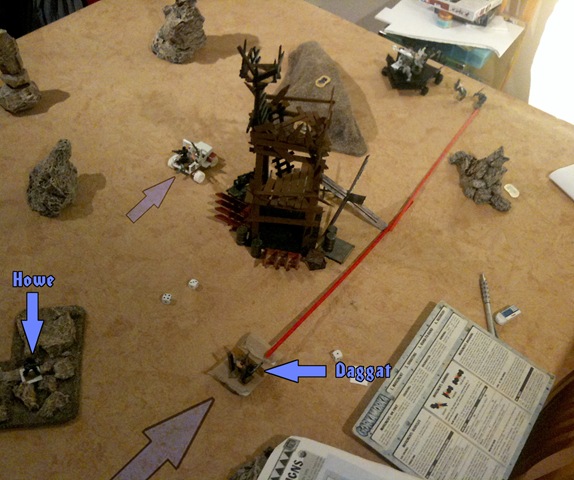
Whiskey Delta 4 get the first turn and send one of their grunts, Howe, to grab some scrap lurking in some difficult terrain. With a man on the ground the two LRVs thrust forward to close the gap between the scrap and themselves. The commanding officer, Togan, takes his hand-to-hand guys up the left side of the board whilst the veteran, Daggat, tries to take the right flank. In doing so he ends up with a clear shot at the Freebooter Kaptin, Grob.
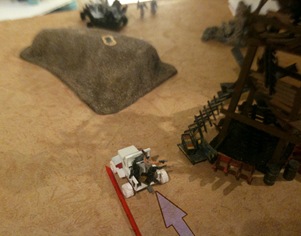
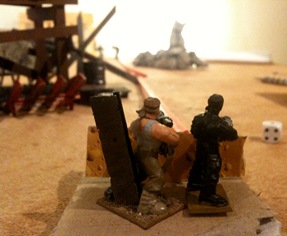
This is the first instance of the increased range of the Dust Rats coming into play, although in this case the bumpiness of the vehicle makes the shot miss by a hefty margin.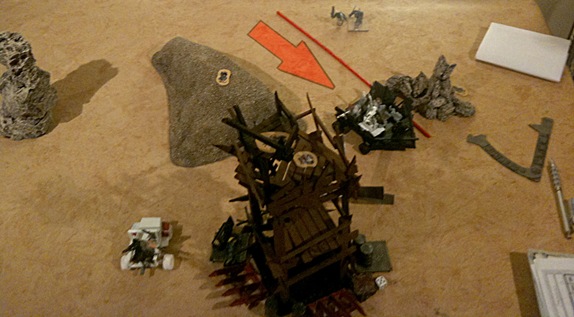 The orks are up, with Steerrraaagh! at the helm they cruise forward, planning to make a turn and ram the oncoming LRV perhaps, but the vehicle won’t budge from its course, resulting in a stall. Amazingly the nearby rocks were avoided!
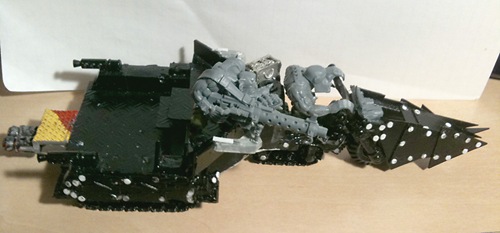
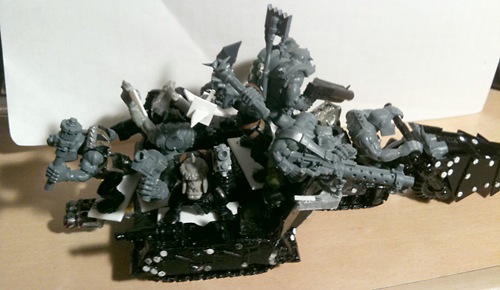
Luckily for Da Cuttas Ov Da Jibb, the crazed Dok who hacked off the legs of two of the crew (whether they needed it or not..) saw fit to give them transport in the form of tracks and a gyro-stabilised monowheel. This did have the unfortunate side effect of getting the old Kaptin the nickname “Captain Hula-hoop”, but the less said about our stand-in monowheel the better.
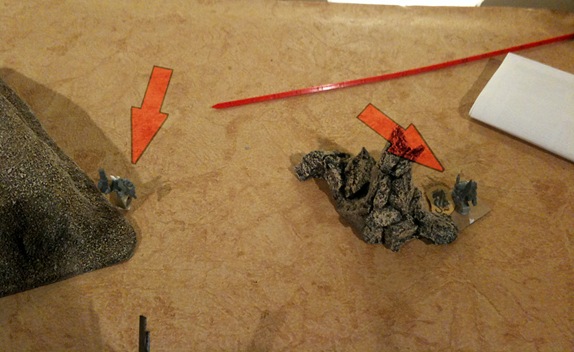 Grob, current freebooter kaptin, fires up his traks’ thrusters and heads over to the scrap hiding behind the rocky outcrop. Meanwhile the old Kaptin, Carrudders, trundles over to the large dune to see if he can find a way up to the juicy scrap.
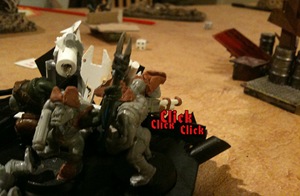 Contrary to the original rules, we play ammo rolls on 1s, rather than sixes. This does mean that occasionally a weapon jams immediately, but that’s just part of the chaos of GoMo.
Why does this matter? Well, Wabdash, the dead-eye of Da Cuttas Ov Da Jibb, was planning on putting a nice big hole in the engine block of the Dust Rats’ LRV, only to find he’d actually forgotten to reload his weapon!
WHICH WUN OV YOO ZOGGERZ NICKED ME SHELLZ?!
-Wabdash
Back to the Dust Rats, Whiskey Delta 4:
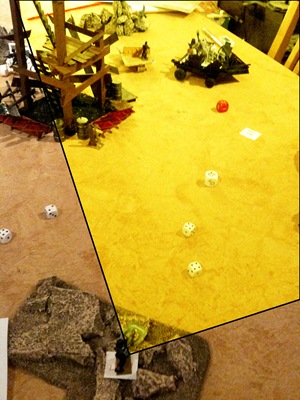
Howe can’t really go anywhere fast carrying the scrap he’s dug up, but he also doesn’t want the orks getting it either. All he’s got his his carbine and some cover, so he gets himself in position and goes on overwatch.
(We’ve not actually had anyone go on overwatch before – the last warrior that tried to get a good shot lined up ended up getting splattered by a speeding trukk before he could declare overwatch!)
Before the brown LRV heads further forward, Daggat jumps off and heads towards the watchtower, hoping to get a good vantage point for his long rifle.
The mob’s CO, Togan, also opts to get his feet dirty and hops off the speeding jeep, easily passing the required initiative test. Once on the ground he runs up the dune, getting close to the scrap.
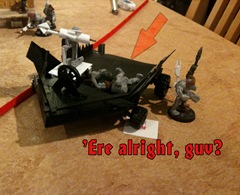 Time for the freebooters to fight back!
Steerrraaagh! guides Da Jolly Squig around the LRV, dropping off the two of the crew to deal with it. Unfortunately, Da Banga and Wabdash are not having a good day and both end up with a gob full of sand when they try to storm the vehicle.
Steerrraaagh! isn’t actually having much luck either – the Bad Mek jumps off to try to claim the scrap only to have the lurking Dust Rat, Howe, take a potshot at him (he missed) and then have the driver stall the trukk on top of the prize. Well done, that ork..
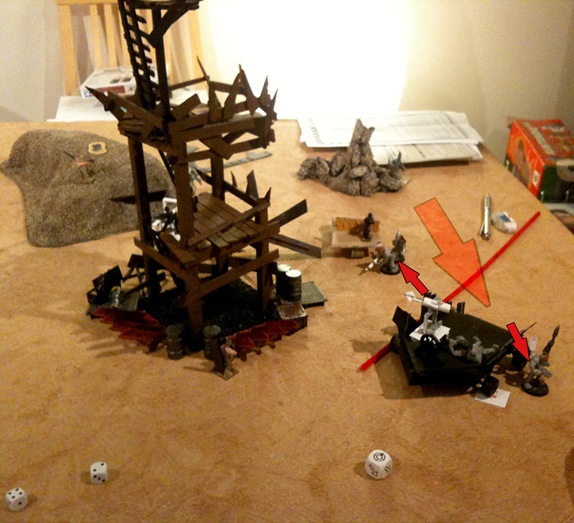 Lastly, the orks try to take a shot with their harpoon gun only to jam the damn thing, or maybe they’re just out of ammo there too? (I believe they fired it previously but didn’t scratch the LRV, which is surprising given how weak the armour on an LRV is!)
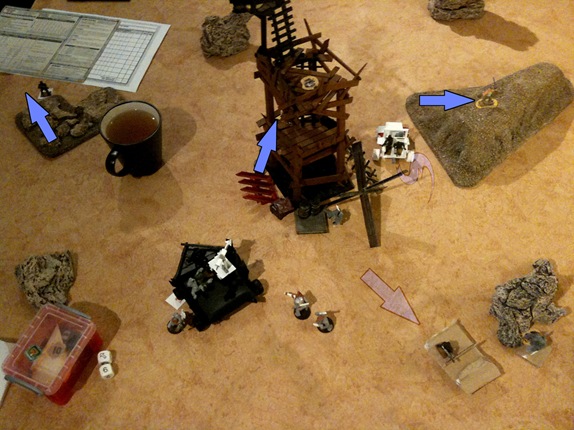 The Dust Rats are on the move again, trying to hold onto their advantage. Howe starts moving towards the edge of the board with his scrap, keeping an eye on the trukk in the distance.
CO Togan grabs the scrap atop the dune whilst the LRV below performs slow speed manoeuvres to turn the vehicle around (represented here by a very distorted arrow). The other LRV starts heading towards the other board edge, getting near Grob, the freebooter kaptin.
Veteran Daggat begins his ascension of the watchtower, getting to the first level where there’s a reasonable amount of cover. Rolko fires his machine pistol at the ork taking cover within the barricades, but doesn’t hit him. He’s also not got any ammo left, ah well!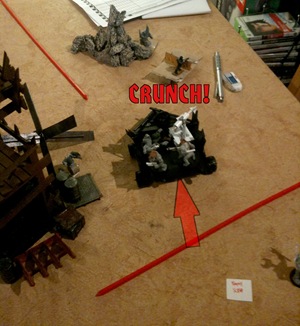
The orks are up again and this time they’re not messing about – Steerrraaagh! rams the brown LRV, taking out its thrusters, effectively hobbling it.
To follow up, the trukk pulls up alongside the LRV and the crew try to jump aboard, with marginally more success. Wabdash faceplants once again and the kabin boy, the now redundant harpoon gunner, gets minced between the two vehicles, putting himself out of action. Nice one.
Not to be put off by this, Da Banga grabs a firm handhold and prepares to furnish Feddick with a few fresh orifices.
Remarkably, the grunt puts up a good fight, holding the burly freebooter at bay and drawing combat. Impressive, but it’s probably only a matter of time before he takes a beating.
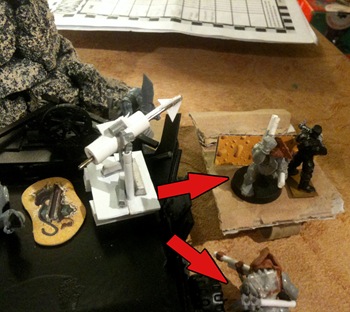 Reacting to the unexpected passenger, the plank driving the brown LRV pushes the vehicle’s gas engines to their limit as he tries to get to the edge of the board, only just falling short.
Meanwhile, Togan scrambles down the dune bank onto the waiting LRV, which starts on its way to the other table edge, planning on picking up the sniper later. He’s a veteran, he knows what he’s doing!
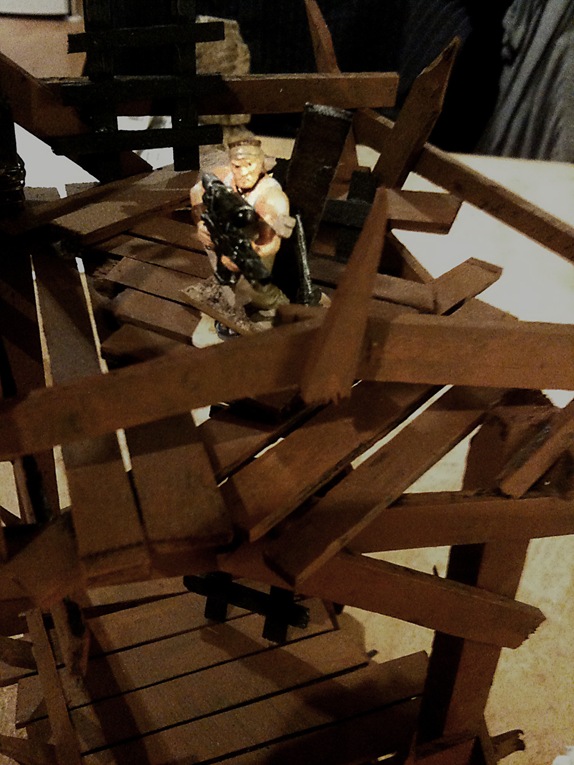
As it happens, he does, and once he’s on the second level of the watchtower with some scrap at his feet, he makes it known. A single shot rings out and the freebooter bad mek’s day is ruined, as he’s out of action. Good night, gracie.
With that, it’s the freebootaz turn, although it doesn’t really begin, as they’ve had enough. Well done, Dust Rats!
Result: Victory to Whiskey Delta 4.
We made a few notes along the way, as this was a playtest, but I think they would be more appropriate in a separate post.
As always, any comments can go in the comments below.

