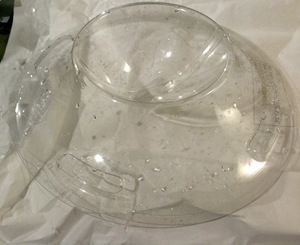
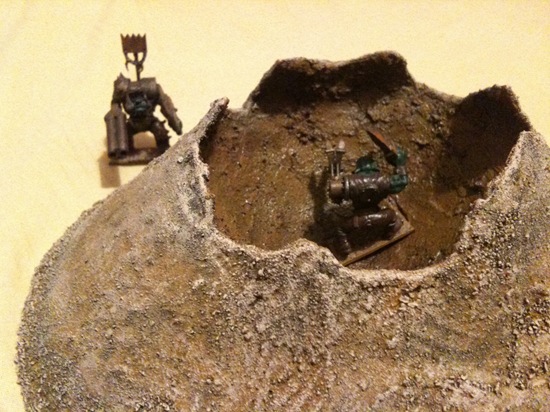
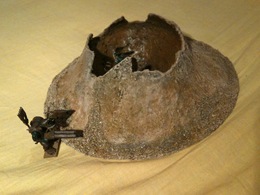
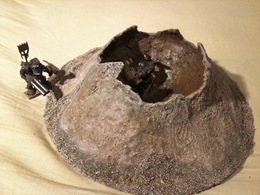
 Given how busy all of us here at tUGS have been lately, it’s understandable that we’ve got a few bits of junk lying around. One of the bits that has finally reached the top of the heap is part of an Easter egg box. My girlfriend (Gorkers, Da Not So N00bz) suggested it be used for a crater or similar, an idea which immediately appealed.
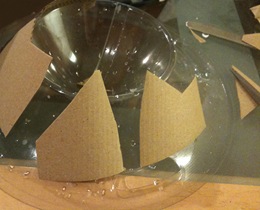
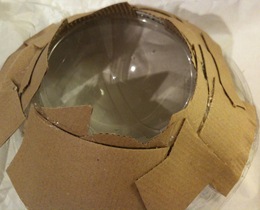
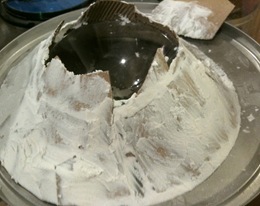
I figured the plastic itself would be a nightmare to get spackle to stick to, so the first step was to build up some structure to create a skeleton for the polyfilla to build on.
Hot glue was used for this, in conjunction with a load of old coffee cup heat shields, provided again by my other half. These were ideal for this as they had a natural curve to them, helping them wrap around the curvature of the plastic, uh, thingy.
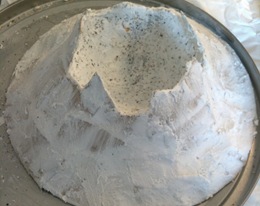
With the card firmly in place, I started adding pre-mixed filler to the structure, which was then left to dry over night. In the morning a few areas were added to and some PVA glue was added to the empty centre to create an initial layer for adherence. Later some of the chunky seashell sand I use was added to this area, creating a texture that would hold filler. Once that was dry, a final, smoother coat of filler was added. Not too smooth, mind you. It’s supposed to be rocky, so no need to be too careful.
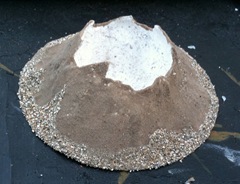 The final stage of construction was to add fine grain sand to the piece, excluding the centre. This took several layers and was held on by PVA glue, a process which was aided significantly by my trusty hairdryer. What can I say, I’m impatient!
Once the thin sand was on, I wanted it to blend with the basing of all the rest of my terrain, so I added some of the shell sand to it around the edges and scattered patches across it where it seemed sensible.
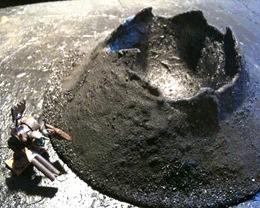
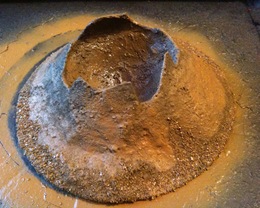
With that it was outside to paint it black and add the other base colours, dark brown for the centre, a faux Snakebite Leather for the rest.
Lastly it was drybrushed with a lighter brown colour on the outside (as per the base painting here) and a little Bestial Brown on the inside to dull down the glossiness of the paint. There we go, finished!
Leave a Reply