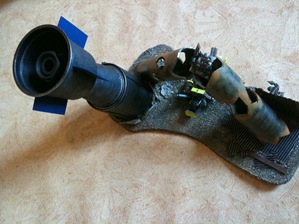
IMG_4130In April we had our last playtesting session for the Dust Rats, our new GoMo faction, but since then we’ve not said much. However, that shouldn’t be taken to mean that there’s been nothing going on, quite the opposite actually.

We’re not going to discuss the latest things with the rules right now, although we plan on having another playtesting session soon, instead this post is concerning the Dust Rats’ Light Recon Vehicle (LRV for short), the vehicle of choice for our first Dust Rat mob, Whiskey Delta 4.

LRVs, or "Recces", are weakly armoured wheeled vehicles used primarily for their manoeuvrability. Usually able to carry four to six Dust Rat warriors, these small trucks are excellent for quickly recovering scrap from the desert due to their light weight, unfortunately this does mean they are highly vulnerable to both enemy fire and ramming.

Stats:

Score Armour Location/Damage   Score Armour Location/Damage
1 6 Crew   4 7 Wheels
2 7 Fixed Weapon   5 7 Driver
3 7 Gubbins   6 8 Engine


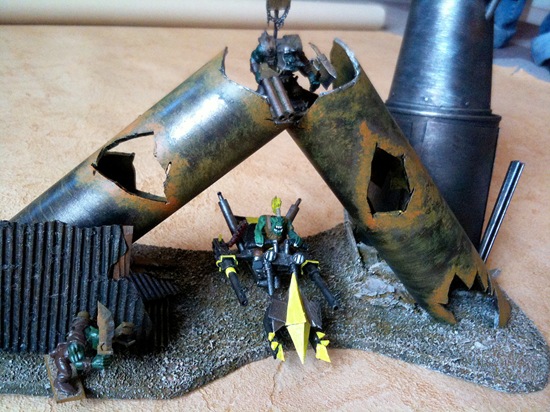
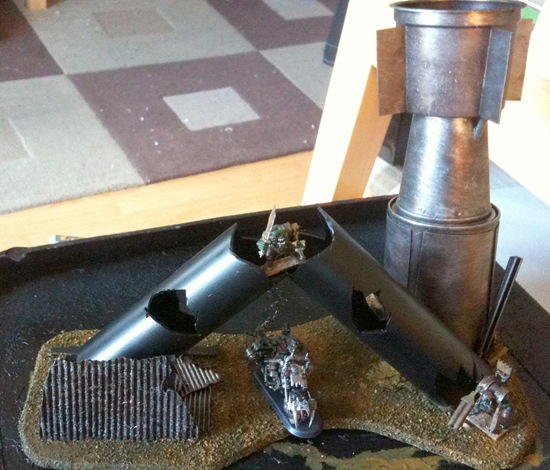
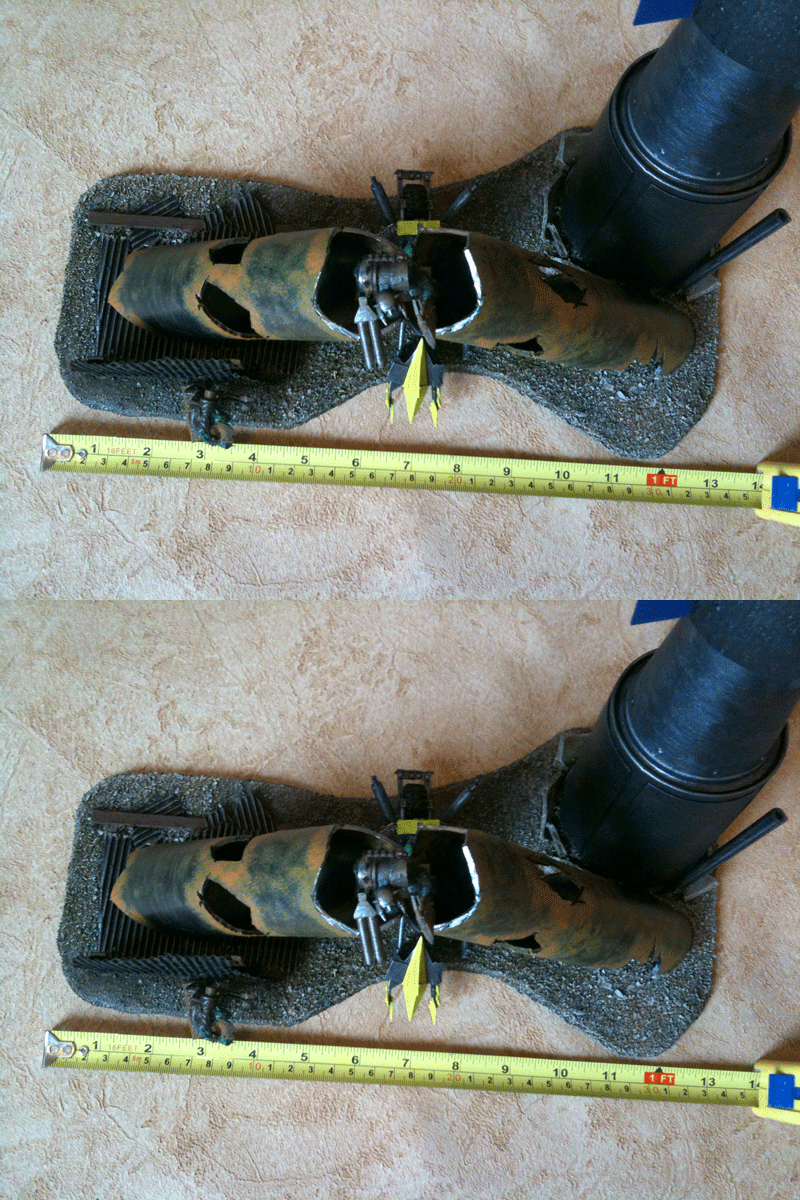
IMG_4129They’re not nearly as tough as Ork vehicles and don’t provide much protection for the crew which is precisely what we want. They’re also significantly smaller, with the number of warriors suggested in the flavour text. We’re not trying to stop you putting ten warriors on one with rules, but rather try to encourage players to treat the vehicle as a small transport, different from the SSV.

These two aren’t supposed to be the definitive interpretation of LRVs, but more a baseline for what kind of thing players should think of when they read that someone’s mob has one.

The small one is supposed to be about average whilst the larger one is a sort of upper limit on size. As long as the models are based appropriately, as all GoMo models should be, it’s easily possible to fit four models on the back of the smaller of the two LRVs.

IMG_4131 IMG_4127

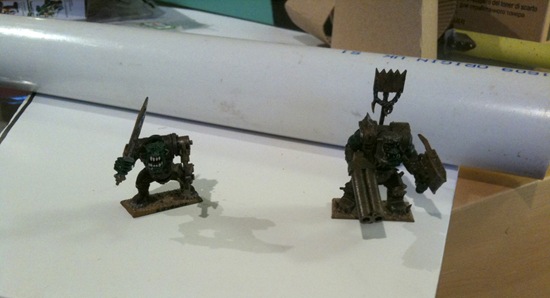
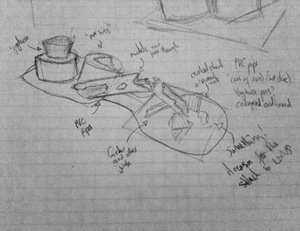
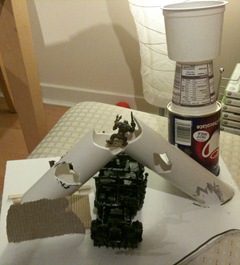
The smaller of the two is mostly scratch built with the addition of some GW wheels and a couple of bits from a toy tractor. The larger one is made from most of a Ramshackle Games “Death Rod” (the wheel arches are from another Ramshackle kit, but can be bought separately here), some plasticard and plastic rod:

IMG_4101 IMG_4105

The next Dust Rat vehicle will probably be the Dust Rats’ bike (based on this model from Ramshackle Games).

Tags:

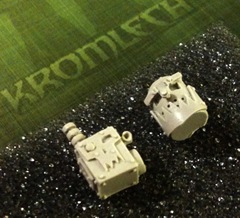
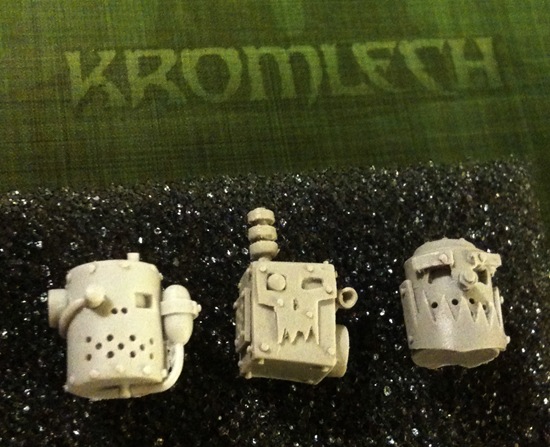
piat-kromlech-imageThere was one last thing we wanted to share with you from the special package from Kromlech and that is their Orc War II PIAT anti-tank launcher and its accompanying rocket.

You might have seen it in the image they released of their weapons pack, but we can’t show you the rest of the weapons as we don’t have any yet. From this piece it’s looking like they’ll be pretty good though!

In the photo below you can see how big the launcher is compared to the standard Ork Boy arm holding it. It looks like a great piece for a unit of tank busters, or, in terms of Gorkamorka, it’d be pretty good as a mounted rokkit launcher thanks to its rather nifty integrated monopod.

PIAT-anti-tank-launcher

20 May 2010

Spraypaint 101: Part 2 of 2

Filed under: Modelling, Terrain

It’s been quite a while since I wrote part one of my spraypaint guide, but here’s the second half.

Caps

grsdet_SprayPaintNozzle As I mentioned in the first half, caps matter when painting which is clearly explained by the painting company tempe. There are a whole variety available, more than I can even tell you about as shown on Stubbins Painting San Diego`s website, but you don’t need to know everything, just what works well. If you buy low quality spray paint you’ll probably get a cap that looks like this one.

Perhaps this isn’t true of all low quality paint, but in my experience it’s true. It’ll give a relatively thin line of paint, splatter everywhere, and not forgetting its miraculous ability to leak all over you.

If you’re buying paint from a store that sells graffiti paint (my current favour is the Monster Colors online store) then it should be easy to pick up some caps at the same time. Don’t worry, they’re quite cheap (~£2 for ten at the time of writing).

The two kinds of caps I’d recommend for spray painting models are fat caps such as “pink dots” and calligraphic caps. The former is a wide spray that should allow you to quickly cover a vehicle or piece of terrain in a few passes, the latter provides a thin line of paint that can quickly be passed over things. By “a thin line” I am referring to a sort of fan shape that can allows a screen of paint to be run over models – it’s my cap of choice for most things, including individual miniatures, although it does require much quicker strokes.


Preparing the model

This is one of the reasons I favour spray paint intended for graffiti – it sticks to just about anything. Whilst other paints might require you to carefully wipe models down and prime them, that doesn’t apply with decent graffiti spraypaint. Make sure they’re not too dusty (you want to paint the model, not the dust) and then start spraying!


Technique

IMG_4072-1The way the paint is used is pretty important and I’ve seen a lot of people treat it as if a slow and deliberate coat is the only way something will stay painted. Actually, that’s the exact opposite of what you want to achieve. Quick coats are far better for models, otherwise you’ll find you’re clogging the model with paint and destroying all the details with large gobs of paint.

Before I continue, I want to mention drying time – graffiti spraypaint is designed for just that – graffiti. What this means is that it’s designed to dry quickly, stick to itself and not have many issues with what is being painted (hence why no primer is needed). What this means is that a quick coat will dry in seconds. I’m impatient and it’s often cold outside, so the sooner I’m done painting, the better.

This means that when painting, you only need to spray a thin coat, perhaps reposition it a little and then spray again. As long as you keep the coats quick and light, the model will have dried by the time the next coat is applied. This is NOT true if you use crappy paint, so be careful. You’ll be wanting to spray the model from a distance of somewhere between six and twelve inches, sometimes less, sometimes more. I don’t measure, I tend to just go with what feels about right. Here’s a video so you can see what I mean:

Once you’ve painted the model, give it a little while to dry (drying can be sped up using a hairdryer) and check it somewhere with even lighting to see which bits you’ve missed. If you got it all first time, well done, if not, take it outside and give it another blast.

Final quick tip – if you’re painting individual warriors, try sticking them to the edge of a cereal box. That way you’ve got a convenient way to pick them up and get them from different angles to ensure decent coverage.

If you have any questions, leave them as a comment and I’ll do my best to answer them!

Just a short note to say that Artur from Kromlech has recently mentioned that there’s some Ork pirate parts in the pipeline, the first of which is apparently a hook hand replacement. This may seem trivial but what it means is that very soon there will be one kind of replacement arm that doesn’t have a model available for it (the telescopic arm).

If there’s any Gorkamorka parts you particularly want to see produced leave a comment and we’ll see if we can convince them to have a stab at them!

16 May 2010

A crater? A geyser? A volcano?

Filed under: Terrain

easter-egg-baseGiven how busy all of us here at tUGS have been lately, it’s understandable that we’ve got a few bits of junk lying around. One of the bits that has finally reached the top of the heap is part of an Easter egg box. My girlfriend (Gorkers, Da Not So N00bz) suggested it be used for a crater or similar, an idea which immediately appealed.

I figured the plastic itself would be a nightmare to get spackle to stick to, so the first step was to build up some structure to create a skeleton for the polyfilla to build on.

Hot glue was used for this, in conjunction with a load of old coffee cup heat shields, provided again by my other half. These were ideal for this as they had a natural curve to them, helping them wrap around the curvature of the plastic, uh, thingy.

base-card-layer top-card-layer

With the card firmly in place, I started adding pre-mixed filler to the structure, which was then left to dry over night. In the morning a few areas were added to and some PVA glue was added to the empty centre to create an initial layer for adherence. Later some of the chunky seashell sand I use was added to this area, creating a texture that would hold filler. Once that was dry, a final, smoother coat of filler was added. Not too smooth, mind you. It’s supposed to be rocky, so no need to be too careful.

base-filler-layer top-filler-layer

sand-addedThe final stage of construction was to add fine grain sand to the piece, excluding the centre. This took several layers and was held on by PVA glue, a process which was aided significantly by my trusty hairdryer. What can I say, I’m impatient!

Once the thin sand was on, I wanted it to blend with the basing of all the rest of my terrain, so I added some of the shell sand to it around the edges and scattered patches across it where it seemed sensible.

With that it was outside to paint it black and add the other base colours, dark brown for the centre, a faux Snakebite Leather for the rest.

base-coat browns

Lastly it was drybrushed with a lighter brown colour on the outside (as per the base painting here) and a little Bestial Brown on the inside to dull down the glossiness of the paint. There we go, finished!

finished-1

 finished-3  finished-2